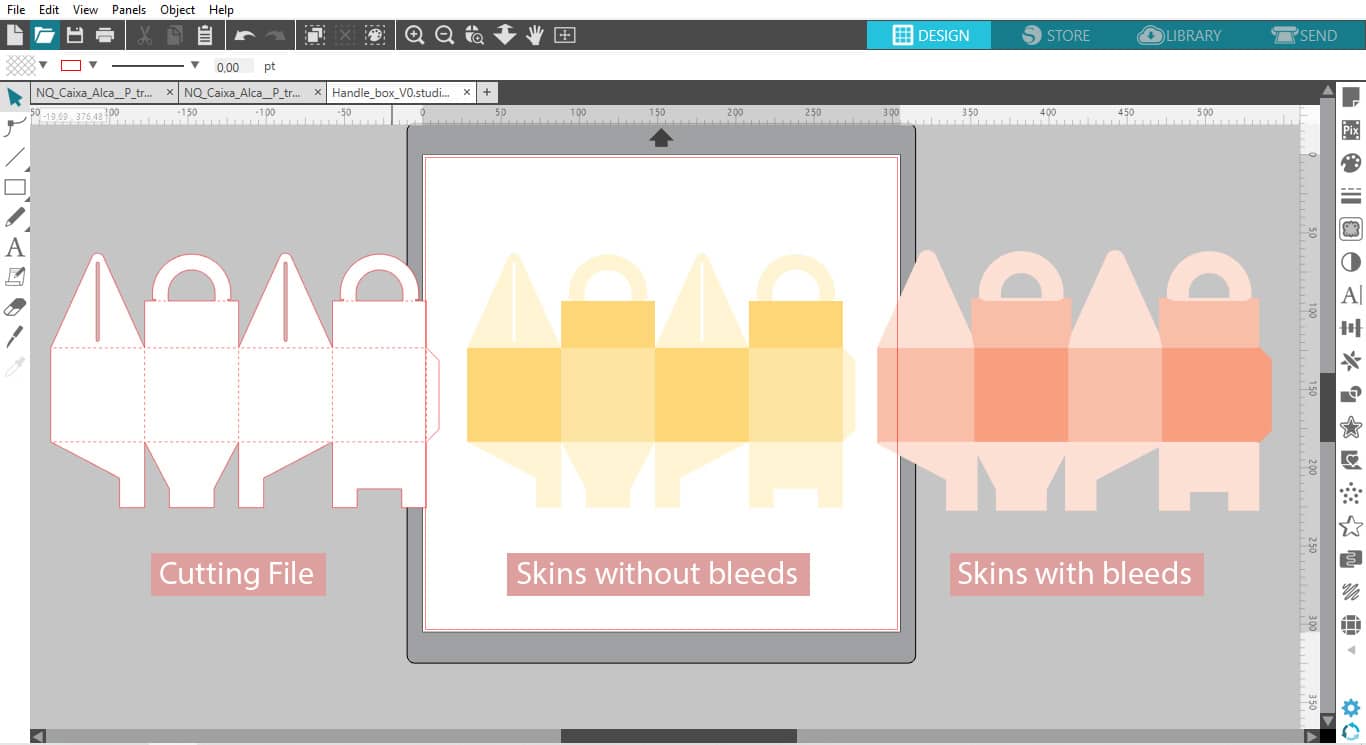
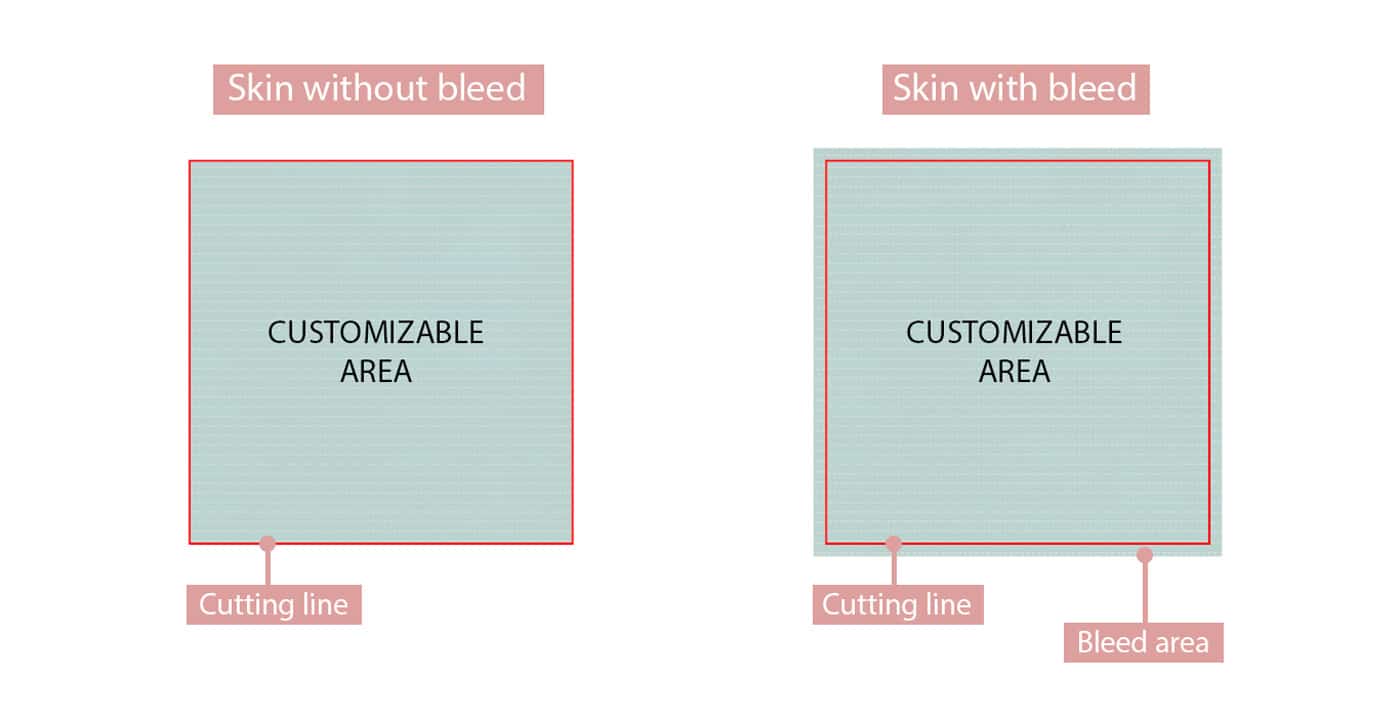
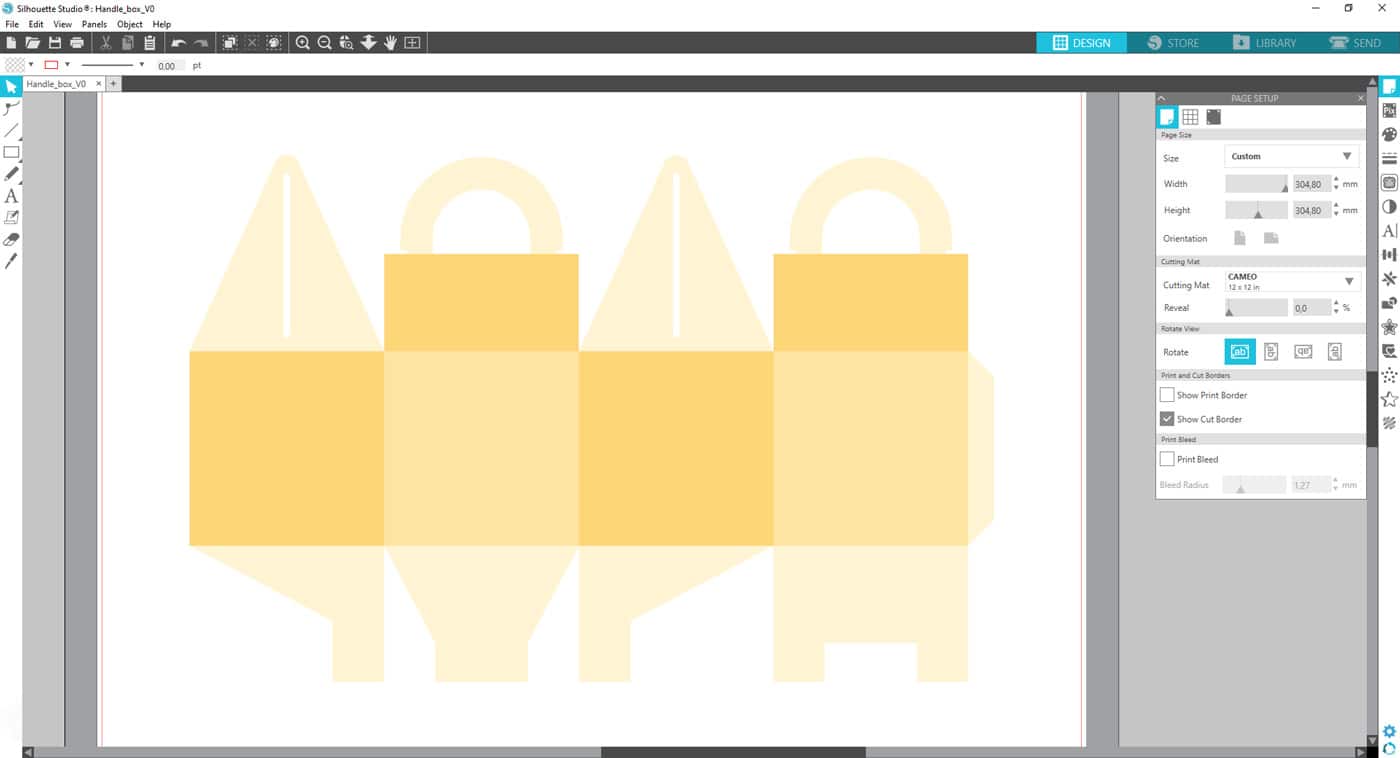
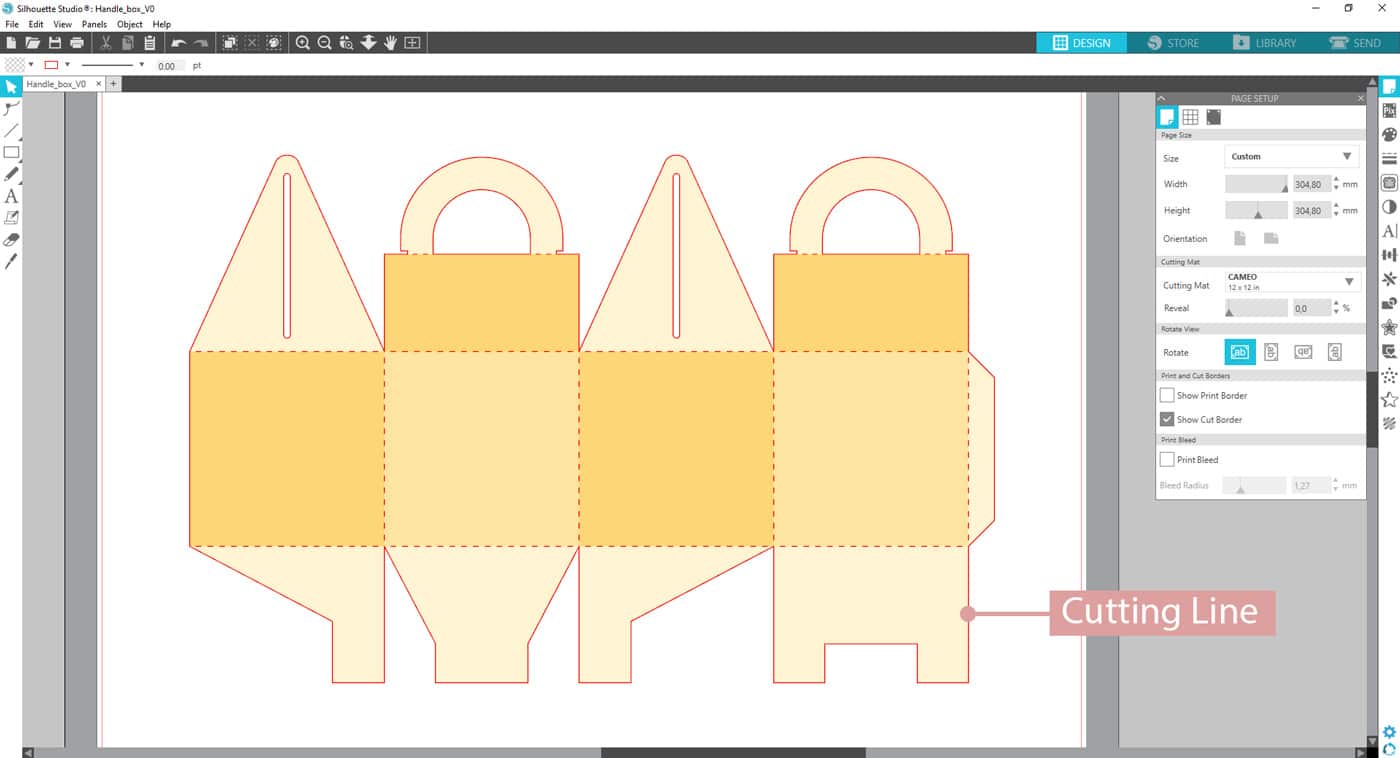
They have the exact same size of the cutting area and they are very useful to create frames, shapes or details on each side of your box. There is no space for artwork outside the cut line:
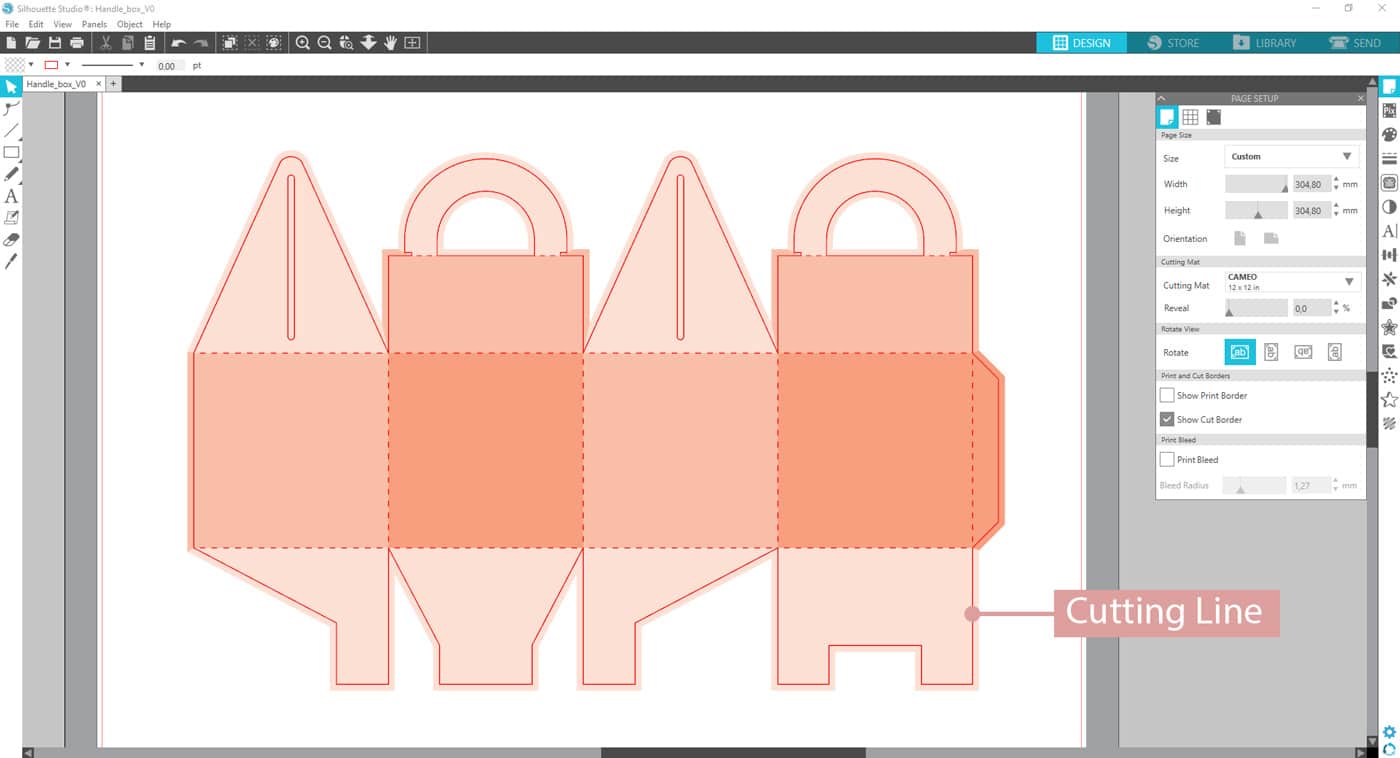
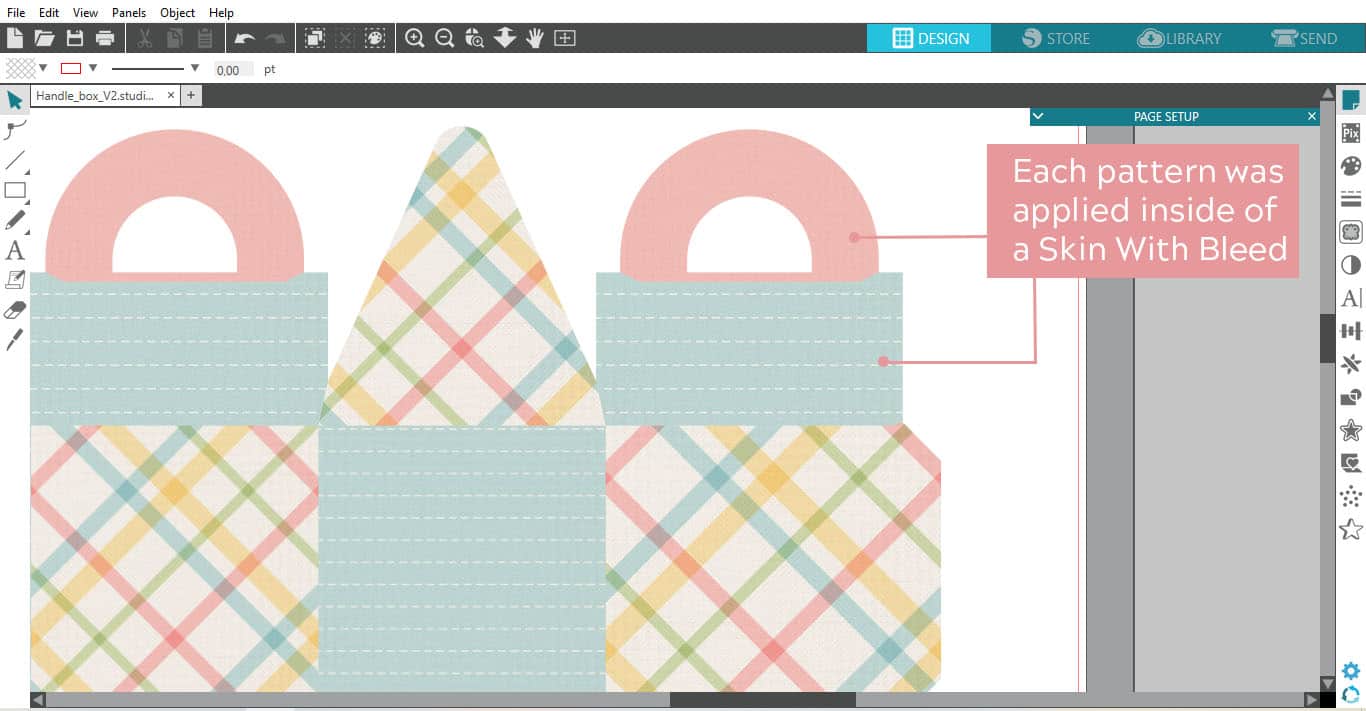
Customizable skins with bleed
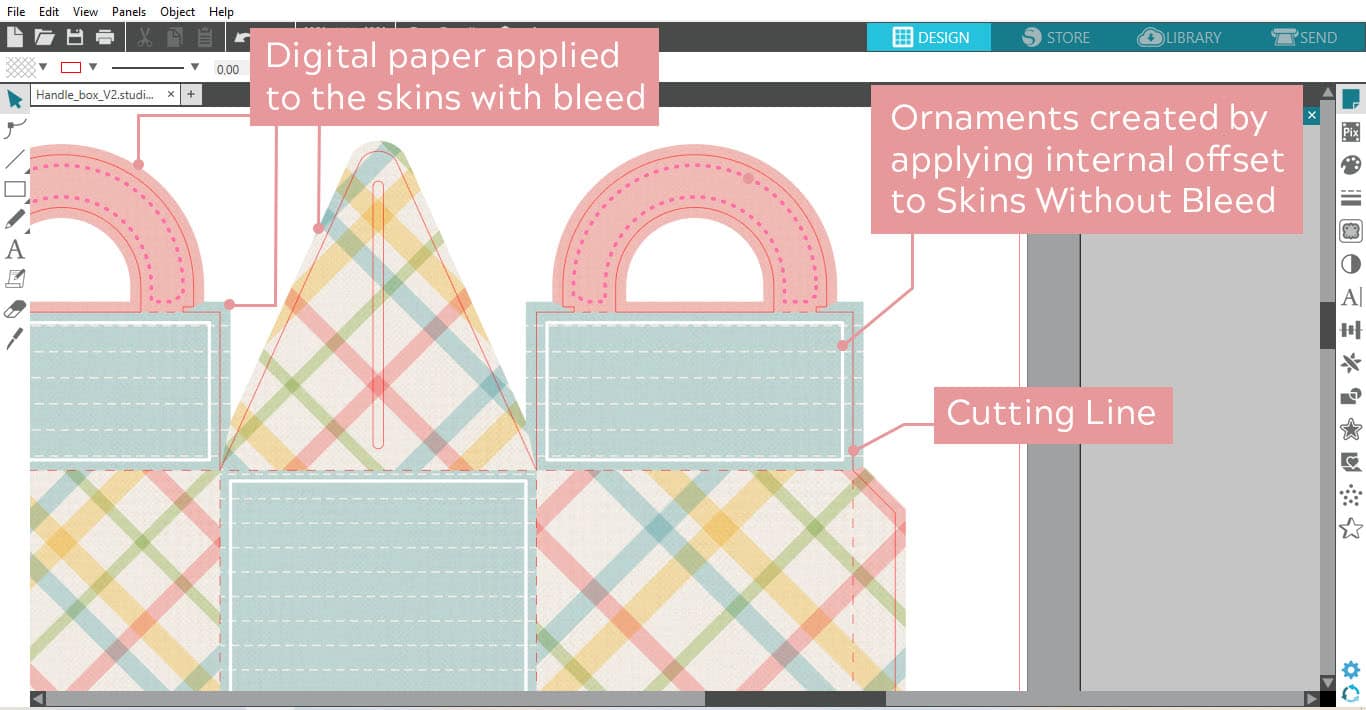
They are a little bigger than the cutting area, so the fill runs beyond the cutting lines, creating a safety margin. With the bleed area added, you’ll avoid any misalignment and white borders while cutting your projects.
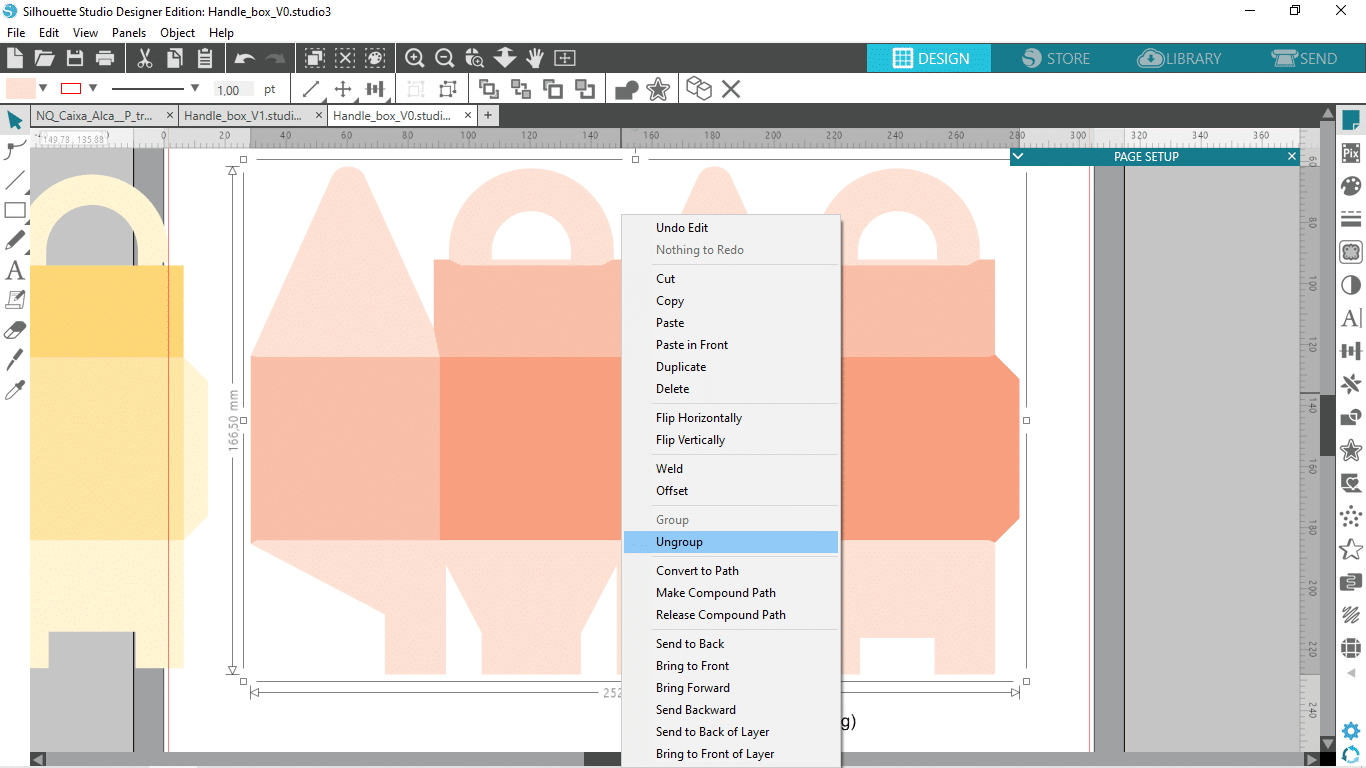
At first, make sure the customizable skins are ungrouped. To find the ungroup tool you must select your project, click with the right button and click on ungroup.
Then open on your computer the folder where your digital papers are and place it on your screen in a way you can see the folder and Silhouette Studio. Check the image below:
After that, select the digital paper you want, drag and drop it inside the area you want to fill.
After you finish your customization, prepare your project following the steps below:
Group all customizable skins
Make sure the cutting lines are grouped and have no fill
Select both groups and then center them
If the customizable skins are in front of the cutting lines, select the group, click with the right button and then click on send to back
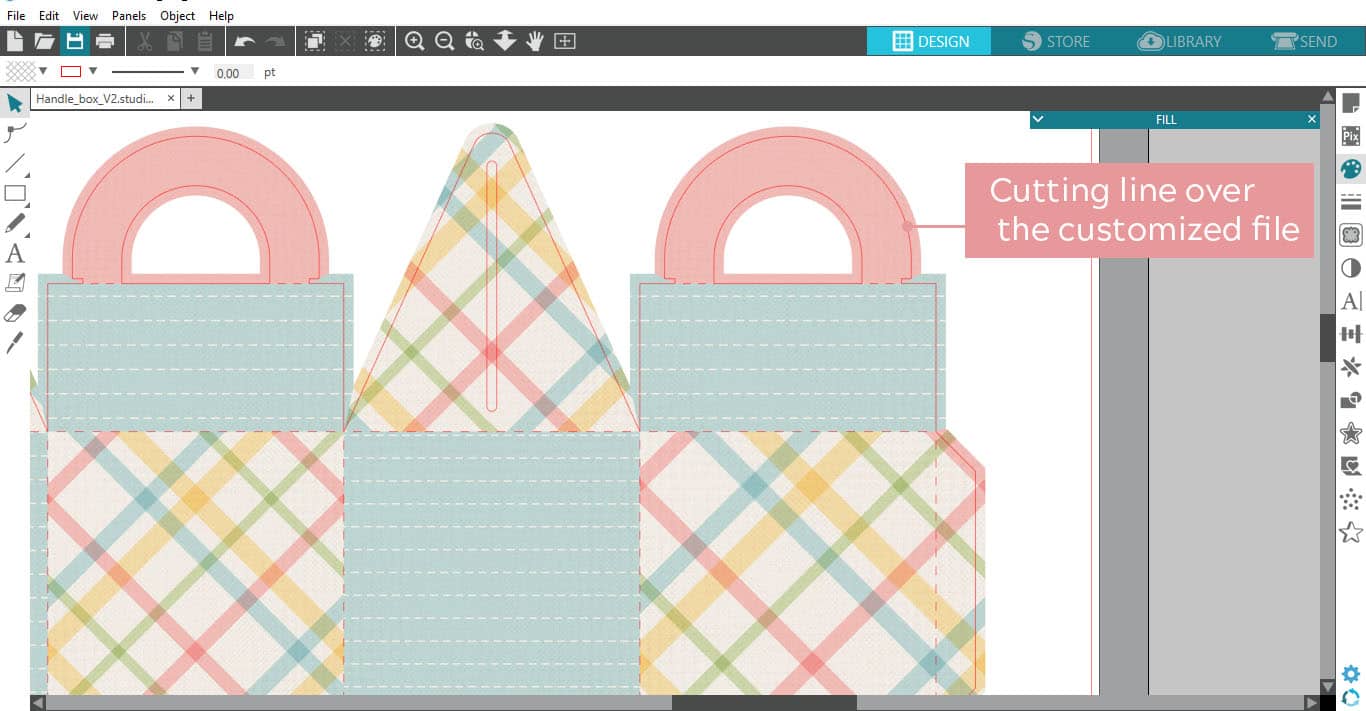
Change the color of the cutting lines to a different one from the one used on the customizable skins. Remember to choose a color that is easy to identify. I usually work with red
Set a page size compatible with your printer
Turn on the Registration Marks
Print your design on the paper of your choice. Pay attention to the size of your sheet, which must be the same size chosen on Silhouette Studio. And don’t forget: once your project is printed, you should not make any ajustment on its position, otherwise you’ll find some misalignments while cutting it.
Click on “Send” button and then select the “Line”mode
Turn off every color on the list, except the one you chose for the cutting lines
Your project set up is done. Adjust the cutting options as you need and now you’re ready to cut it.
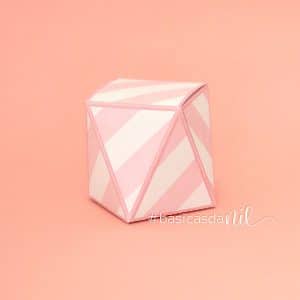
If you want to make your pattern continues through different faces of your box and want to get that seamless effect like the image above, you must follow these steps:
Select the customized shapes you want to make seamless
Click with the right button and then click on Make Compound Path
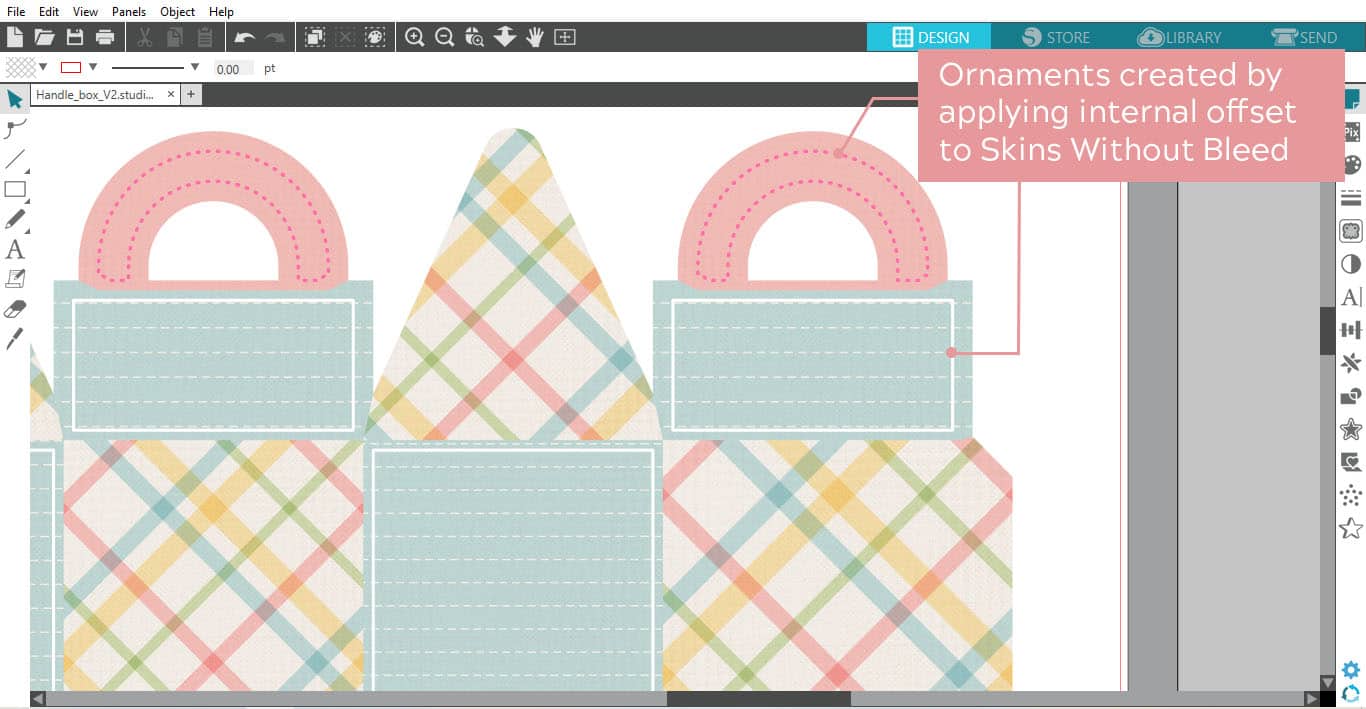
Customizing in a creative and cohesive way takes time and it improves with practice. But I have a tip called the Offset technique that can help you design faster some beatiful effects.
It consists of creating two offset lines on the inside of the customizable skins without bleeds, in every single shape of your project
Doing that, you’ll have three different polygons (one inside the other) for each side of your box. With these three polygons you can create different customization styles by basically adjusting four parameters:
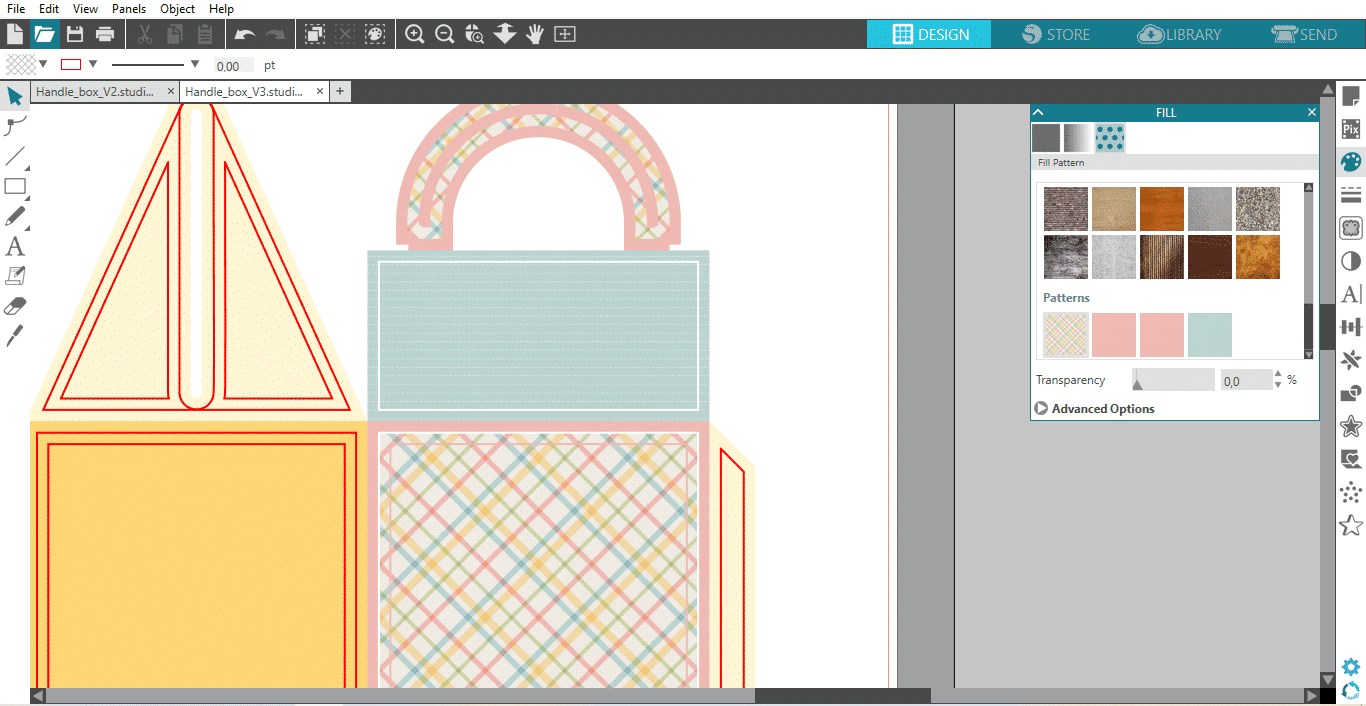
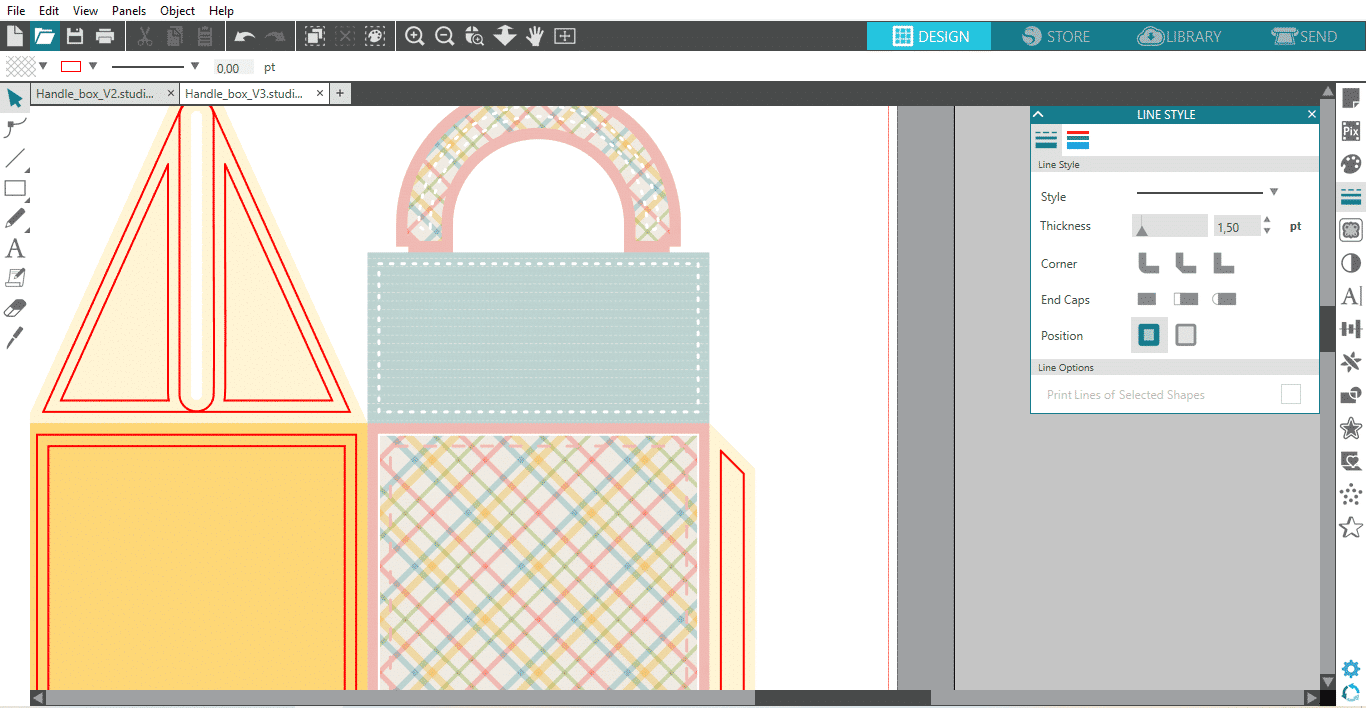
Fill
Line color
Line thickeness
Line style
By alternating and combining different styles, you can improve the design of your project and get creative results in a easy way.